
Globally used files
More actions
This page lists files that are unused on this wiki but are used on other wikis in the farm.
These files are not used on this wiki but are used on at least one other wiki in this wiki farm.
Showing below up to 50 results in range #6,301 to #6,350.
 BSG landing alcove.jpg (en.battlestarwiki.org)
- BSG landing alcove.jpg (en.battlestarwiki.org)
 BSG on iPod video.jpg (en.battlestarwiki.org)
 BSG vs BSG 03 Cover A.jpg (en.battlestarwiki.org)
 BSG vs BSG 03 Cover A Virgin Cover.jpg (en.battlestarwiki.org)
 BSG vs BSG 03 Page 1.jpg (en.battlestarwiki.org)
 BSG vs BSG 03 Page 2.jpg (en.battlestarwiki.org)
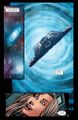 BSG vs BSG 03 Page 3.jpg (en.battlestarwiki.org)
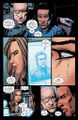 BSG vs BSG 03 Page 4.jpg (en.battlestarwiki.org)
 BSG vs BSG 03 Page 5.jpg (en.battlestarwiki.org)
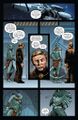 BSG vs BSG Issue 5 Preview Page 1.jpg (en.battlestarwiki.org)
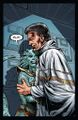 BSG vs BSG Issue 5 Preview Page 2.jpg (en.battlestarwiki.org)
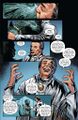 BSG vs BSG Issue 5 Preview Page 3.jpg (en.battlestarwiki.org)
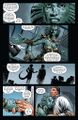 BSG vs BSG Issue 5 Preview Page 4.jpg (en.battlestarwiki.org)
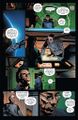 BSG vs BSG Issue 5 Preview Page 5.jpg (en.battlestarwiki.org)
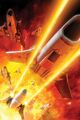 BSG vs BSG Issue 5 Virgin Cover A.jpg (en.battlestarwiki.org)
 BSG vs BSG Issue 5 cover A.jpg (en.battlestarwiki.org)
 BSG vs BSG Issue 5 cover B.jpg (en.battlestarwiki.org)
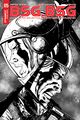 BSG vs BSG Issue 5 cover B BW.jpg (en.battlestarwiki.org)
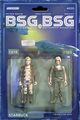 BSG vs BSG Issue 5 cover C.jpg (en.battlestarwiki.org)
 BSG vs BSG Issue 5 cover D.jpg (en.battlestarwiki.org)
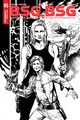 BSG vs BSG Issue 5 cover D BW.jpg (en.battlestarwiki.org)
 BSG vs BSG Issue 6 Cover A.jpg (en.battlestarwiki.org)
 BSG vs BSG Issue 6 Cover A Virgin.jpg (en.battlestarwiki.org)
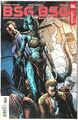 BSG vs BSG Issue 6 Cover B.jpg (en.battlestarwiki.org)
 BSG vs BSG Issue 6 Cover B B&W.jpg (en.battlestarwiki.org)
 BSG vs BSG Issue 6 Cover C.jpg (en.battlestarwiki.org)
 BSG vs BSG Issue 6 Cover D.jpg (en.battlestarwiki.org)
 BSG vs BSG Issue 6 Cover D B&W.jpg (en.battlestarwiki.org)
 BSGemblem.jpg (en.battlestarwiki.org)
 BSGthePlan 3D.jpg (en.battlestarwiki.org)
- BSGthePlan 3D.jpg (en.battlestarwiki.org)
- BSGthePlan 3D.jpg (en.battlestarwiki.org)
 BSGv2011.jpg (en.battlestarwiki.org)
 BSGv2012.jpg (en.battlestarwiki.org)
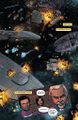 BSGv2013.jpg (en.battlestarwiki.org)
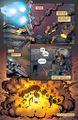 BSGv2014.jpg (en.battlestarwiki.org)
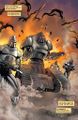 BSGv2015.jpg (en.battlestarwiki.org)
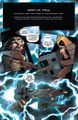 BSGv2021.jpg (en.battlestarwiki.org)
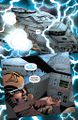 BSGv2022.jpg (en.battlestarwiki.org)
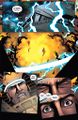 BSGv2023.jpg (en.battlestarwiki.org)
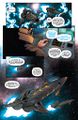 BSGv2024.jpg (en.battlestarwiki.org)
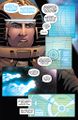 BSGv2025.jpg (en.battlestarwiki.org)
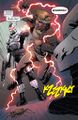 BSGv2031.jpg (en.battlestarwiki.org)
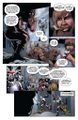 BSGv2032.jpg (en.battlestarwiki.org)
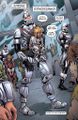 BSGv2033.jpg (en.battlestarwiki.org)
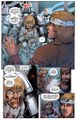 BSGv2034.jpg (en.battlestarwiki.org)
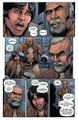 BSGv2035.jpg (en.battlestarwiki.org)
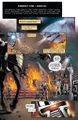 BSGv2041.jpg (en.battlestarwiki.org)
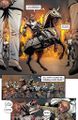 BSGv2042.jpg (en.battlestarwiki.org)


